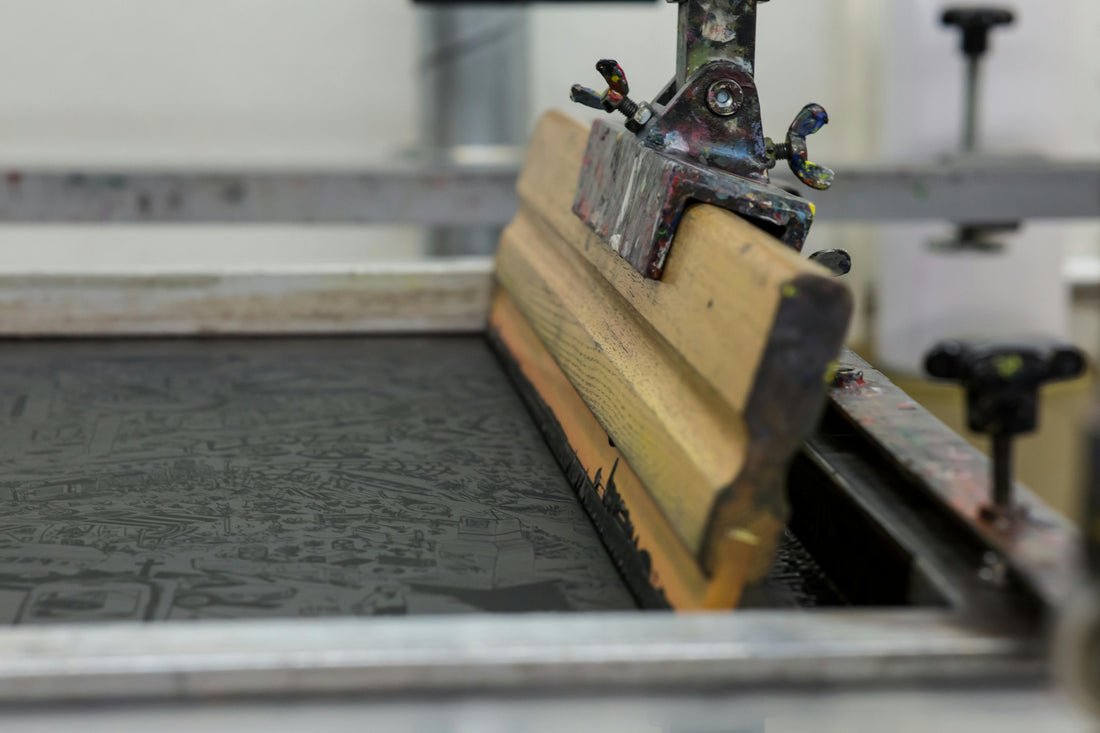
Welcome to the quirky, colorful world of DIY screen printing! It’s a fun and creative way to express yourself, and you get to wear your art—what could be better? Just picture it: you, in a homemade T-shirt that screams “I’m artsy and cool!” (or perhaps “I tried my best and it shows”). But beware! The road to screen printing glory is paved with sticky ink, misaligned screens, and a few “what was I thinking?” moments. Let’s dive into the delightful chaos of DIY screen printing!
What You’ll Need: The Starter Pack
Before we get into the nitty-gritty, let’s talk about the supplies you’ll need. Grab your shopping list!
-
Screen Frame: This is where the magic happens. Think of it as your canvas, but with more potential for mess.
-
Squeegee: No, it’s not just a fancy name for a window cleaner! This tool will help you spread ink across your screen and onto your shirt.
-
Ink: Choose your colors wisely! You don’t want to end up with a shirt that looks like it survived a paint explosion.
-
Emulsion and a Light Source: Unless you’re planning to draw your designs with a crayon, you’ll need these to create your stencil. (Tip: Remember that this is not a 3rd-grade art project; the goal is clarity, not confusion.)
-
A Shirt or Canvas: Because what’s the point of printing if you don’t have anything to print on? T-shirts, tote bags, even hoodies—get creative!
-
A Sense of Humor: Seriously, you’re going to need this as you navigate the ups and downs of your screen printing adventure.

The Process: It’s Like Cooking, but Messier
Once you’ve gathered your supplies, it’s time to jump into the process! But beware—this is where things can get messy.
Step 1: Design Your Artwork
This is the fun part! Sketch something that embodies your inner artist. But be careful! If you try to channel your inner Picasso, you might end up with something that looks more like a Dali nightmare.
Step 2: Create Your Stencil
Using emulsion, coat your screen and let it dry. Once it’s ready, expose it to light with your design. If you’re not careful, you might accidentally create an art piece that’s more abstract than intended. But hey, who doesn’t love a good conversation starter?
Step 3: Prepare for the Inking Showdown
Once your stencil is ready, it’s time to get inky! Place the screen on your shirt, pour some ink at the top, and grab that squeegee. Now, push the ink down the screen, and watch as your design comes to life! Just remember to breathe and not to press down too hard—unless you want to give your shirt an accidental tie-dye look.
Step 4: The Big Reveal
Lift the screen, and behold your masterpiece! Or, perhaps, your “artistic interpretation.” If it looks more like a Rorschach test than a T-shirt design, don’t fret. You can always call it “abstract art” and say it’s meant to provoke thought.
The Aftermath: Clean Up Like a Pro (or Not)
Congratulations! You’ve just completed your first DIY screen printing project. Now comes the part nobody really talks about: cleaning up. If you’re anything like me, you’ll find ink splatters on every surface and likely some in places you didn’t know existed (thanks, gravity!).
Pro Tip: Have a Dedicated Space
Do yourself a favor and set up a dedicated workspace for your screen printing. Cover everything with plastic, newspapers, or old bed sheets. Your future self will thank you when you don’t have to explain to your landlord why there’s a strange, colorful stain on the kitchen table.
The Power of Quality Films
Now, here’s where things get serious (and slightly less chaotic). While you could hand-draw your designs and transfer them onto your screens like a true artisan, let’s be real—unless you’re a seasoned artist or have a penchant for abstract expressionism (i.e., a fancy term for “oops, I spilled ink”), you might want to consider getting your films printed by a reputable printer.

Bel Printworks:
When it comes to film printing, you’ll want to work with a team that knows their stuff—kind of like how you’d want a skilled chef to make your soufflé rather than your cousin who once burnt toast. At Bel Printworks, we take the guesswork out of the equation. Our professional-grade films ensure that your designs are crisp, clean, and ready for action.
Why Bel Printworks? Because We Love You (and Your Designs)
Let’s be honest: nobody wants a design that looks like it was created during a game of Pictionary gone wrong. By choosing Bel Printworks for your film printing needs, you’ll get:
-
Precision Printing: We’ll make sure your designs are sharp enough to cut glass. Okay, maybe not literally, but you get the idea.
-
Consistency: No more guessing games! Our films come out the same every time, so you won’t end up with a collection of misfits. Think of us as the reliable best friend who always brings the snacks to the party.
-
Time-Saving: Why spend hours fiddling with your designs when you could be out living your best life? Let us handle the film printing while you perfect your screen printing technique (or catch up on that show everyone has been talking about).
-
A Stress-Free Experience: We get it—DIY projects can quickly turn into DIY disasters. Having quality films means you can spend less time worrying about your designs and more time enjoying the process. Plus, if you accidentally spill ink everywhere, at least you’ll have a beautiful film to fall back on.
In the End; Wear Your Creation with Pride
At the end of the day, DIY screen printing is about having fun and letting your creativity shine. Whether your shirt turns out looking like a masterpiece or a toddler’s art project, wear it with pride! After all, you created something with your own two hands—and that’s something to celebrate, even if it occasionally resembles a fashion faux pas.

